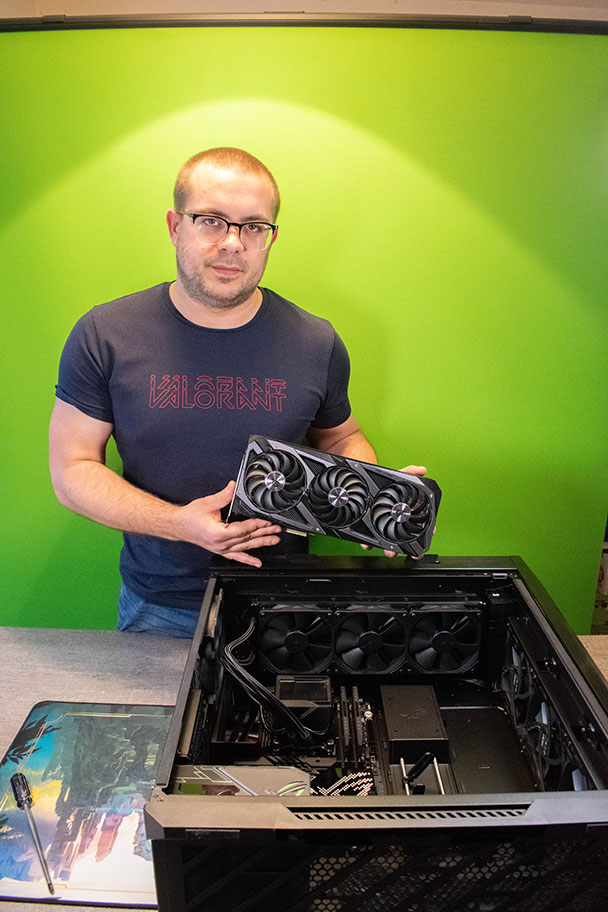
Initial setting
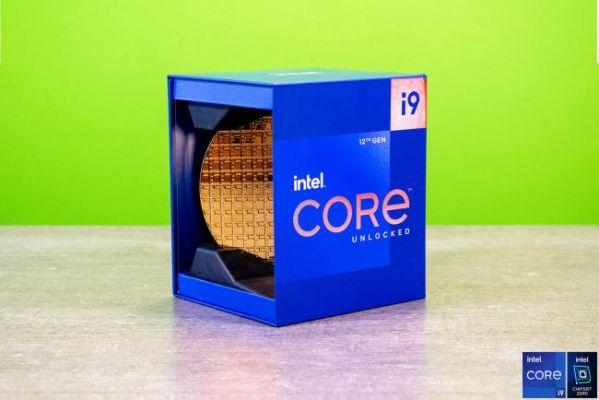
Here is the list of products present in the pack PCDIY that we have received. Just click on the device in question to obtain a more detailed sheet, a test or simply an article allowing you to learn how to better choose the component that will fit your configuration. Note that these will be released over the weeks, so keep an eye on the news.- Processor : 12th Generation Intel Core i9-12900K
- Graphic card : ROG Strix GeForce RTX 3080
- Internal memory : Samsung SSD 980 1 To (SSD) et SSD XPG/ADATA
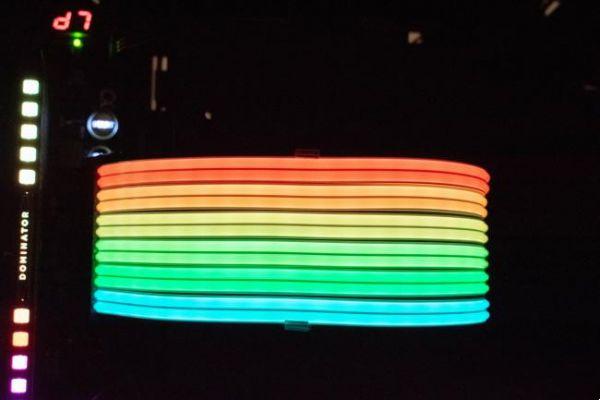
- RAM: DOMINATOR PLATINUM RGB First Edition 32 GO (2 x 16 Go) DDR5 DRAM 5 200 MHz C36
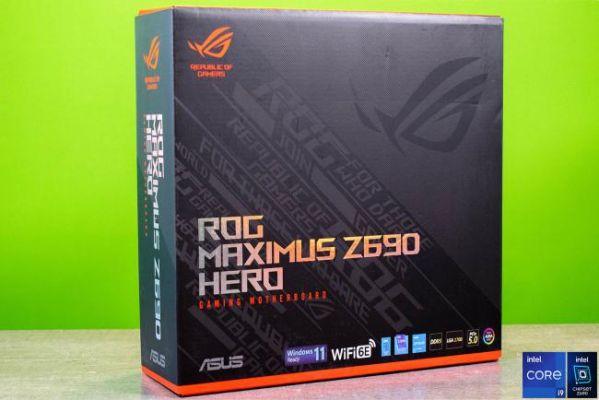
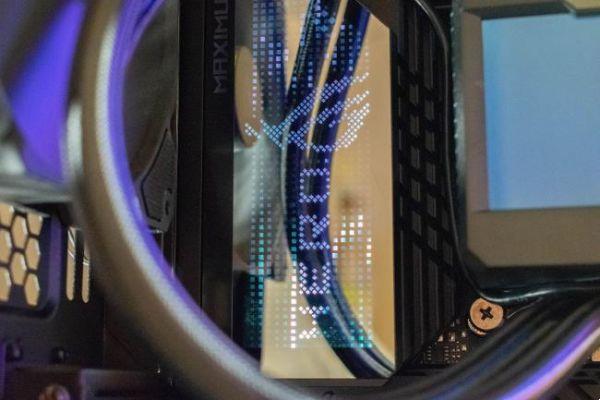
- Motherboard : ROG MAXIMUS Z690 HERO (LGA1700)
- Supply : ASUS ROG Strix 850W Platinum 80+
- Watercooling AIO : ROG Ryujin II 360
- Case: ASUS ROG Strix Helios RGB Boîtier PC gaming ATX/EATX

Choose your configuration with PCDIY
As an introduction to this article, we remind you that the configuration is available on the ASUS PCDIY site, where you can also find the configurations of other media and/or streamers/YouTubers. Choosing a particular link takes you directly to the desired configuration. However, it is still possible to modify the components as you wish.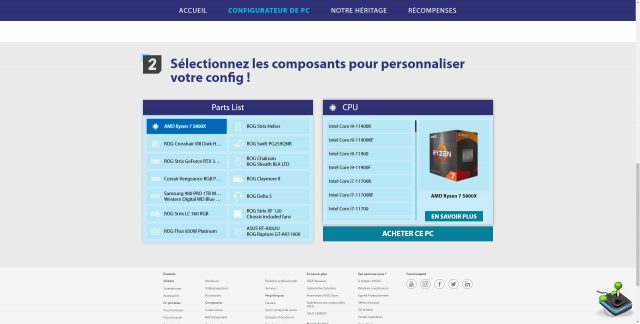
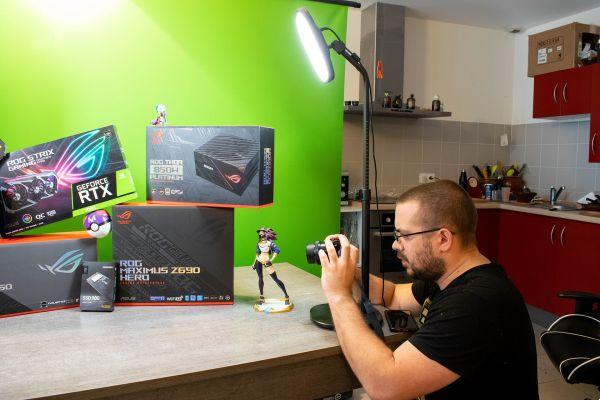
Pre-installation organization
Before you begin mounting and in order to be prepared for any eventuality, it is important to have tools such as:- Phillips screwdriver, long end and magnetized (if possible)
- Something to put the windows on safely (bubble wrap, etc.)
- A container to collect screws and/or elements to be dismantled from components or from the case
- A spaced and stable work area
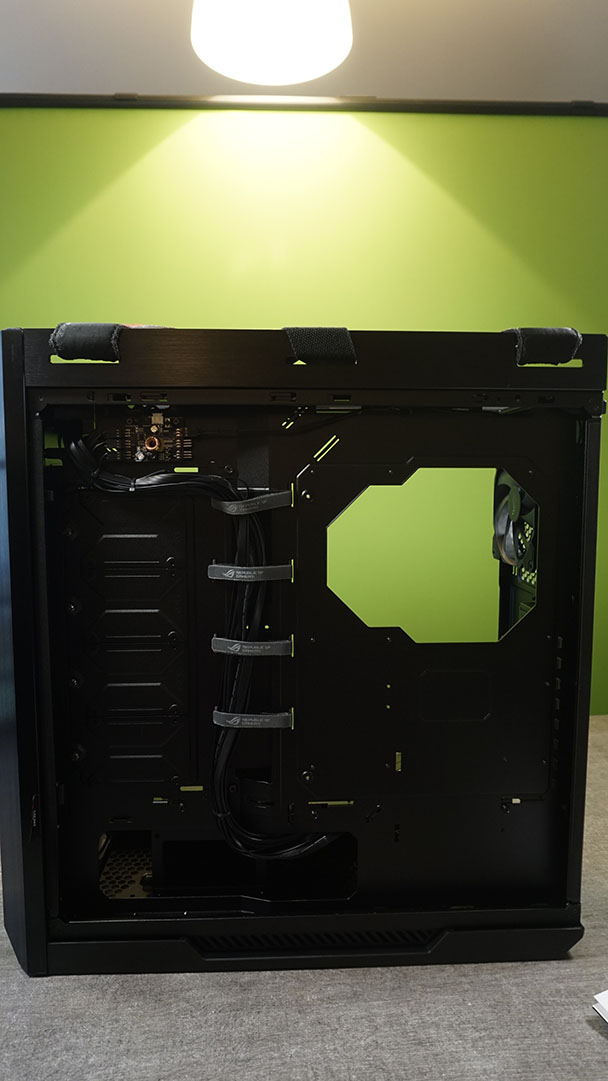
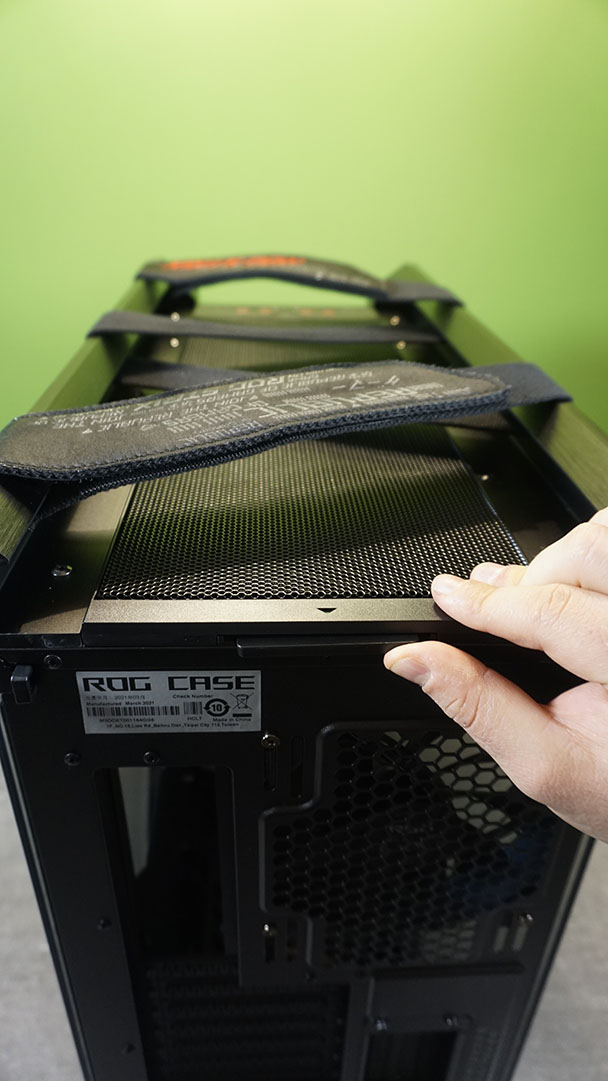
Case preparation
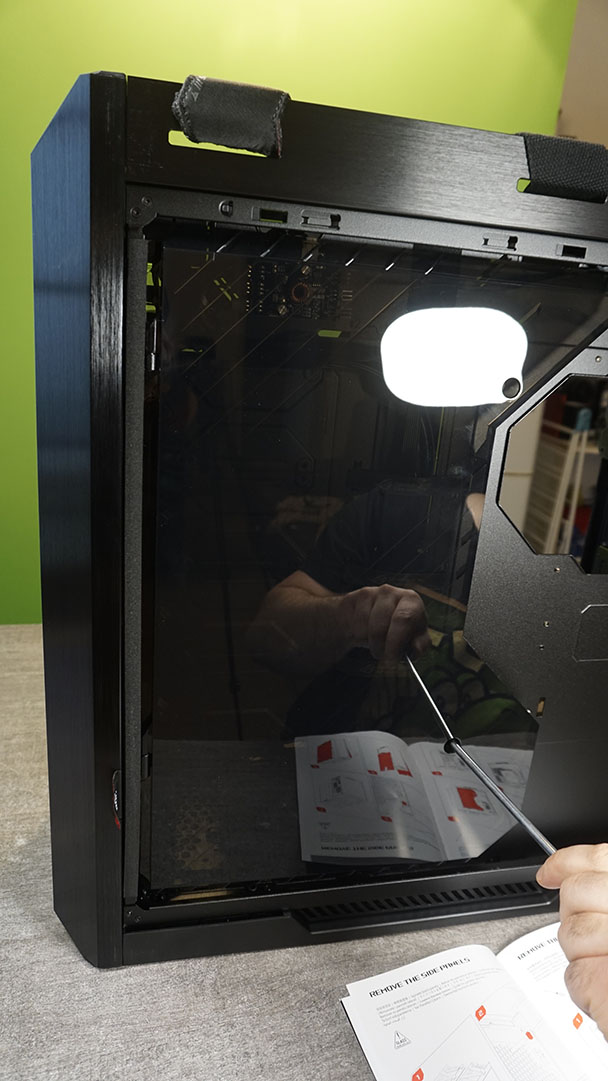
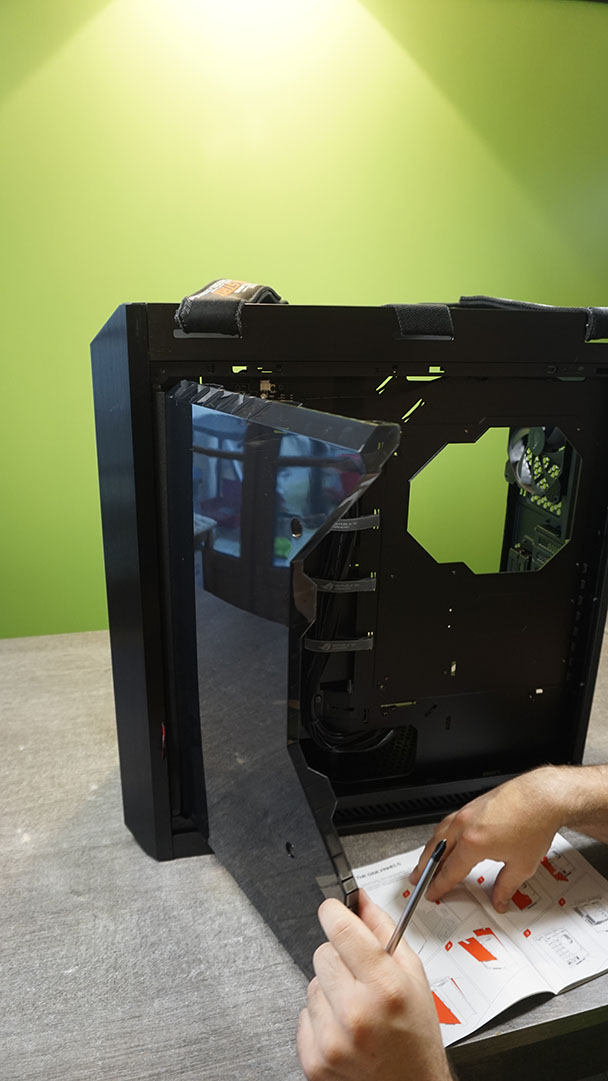
Since the case is the final container for your entire configuration, you have to think about lightening it of any useless or bulky element, starting with the windows, to which special attention must be paid so as not to break them. We advise you to put them on bubble wrap or a duvet/bed.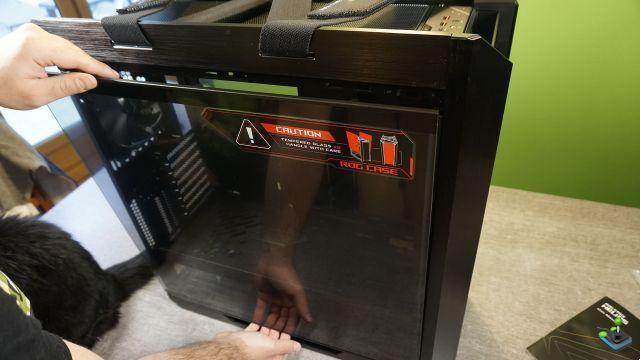
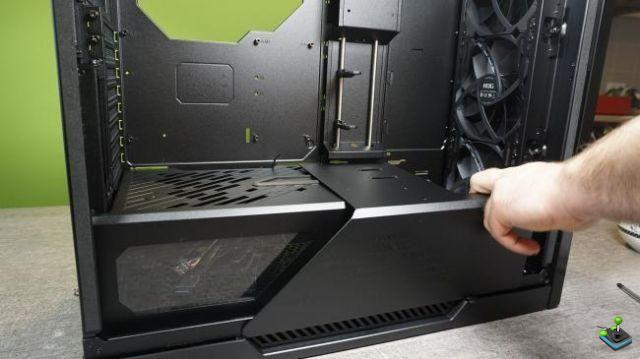
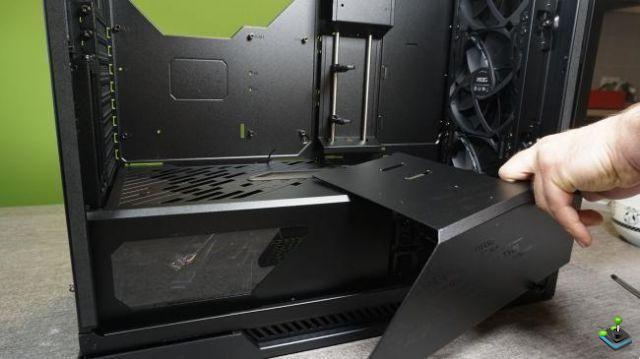
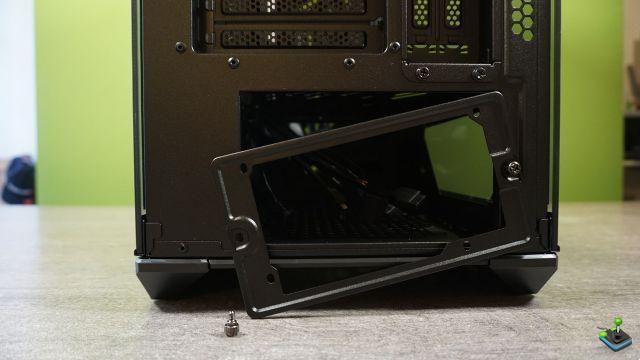
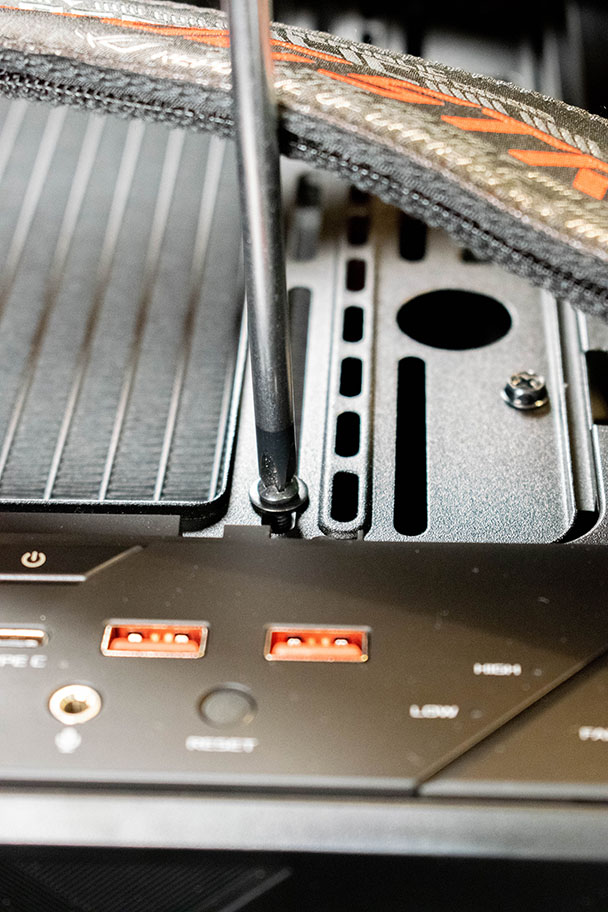
First, it will be necessary to remove the area that hides the power supply. In two parts, just remove the four fixing screws and rotate and slide the different parts. For more information, we invite you to follow the manual allowing the initial dismantling.
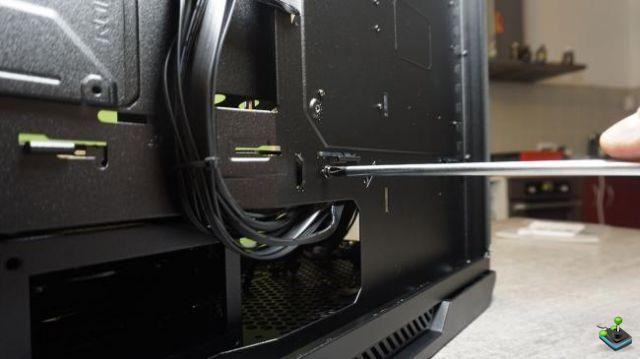
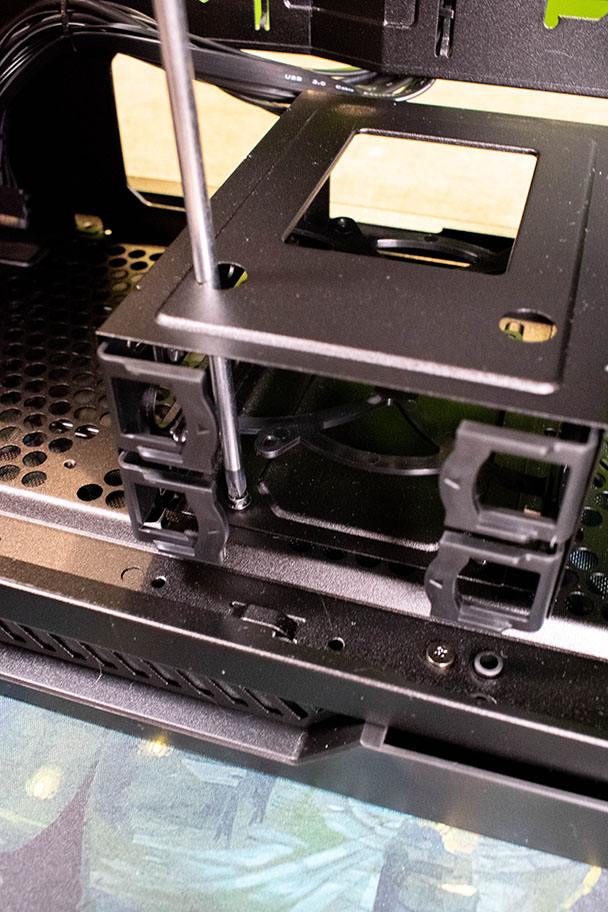
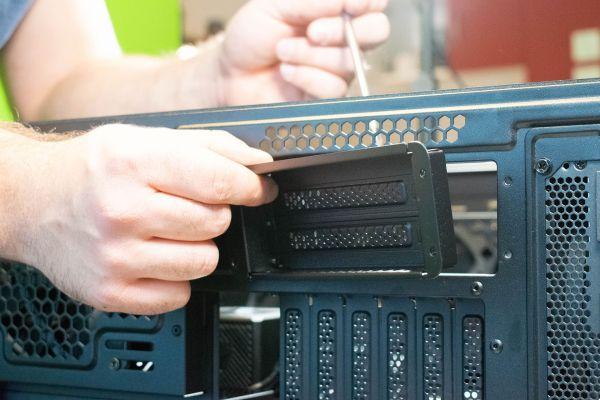
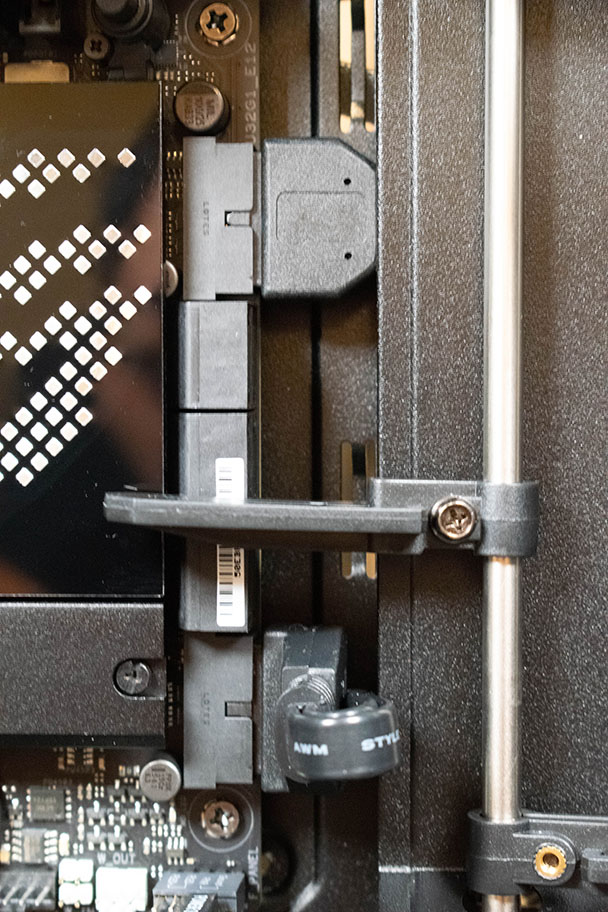
For this configuration in particular, as we do not have hard disks, but SSD in M2 format (flat, small and long), the hard disk support is unnecessary. To remove it, you must remove the screws through the upper holes before tackling the dismantling of the horizontal fixing area. Without it, it will be easier to install your graphics and acquisition card (if you have one).
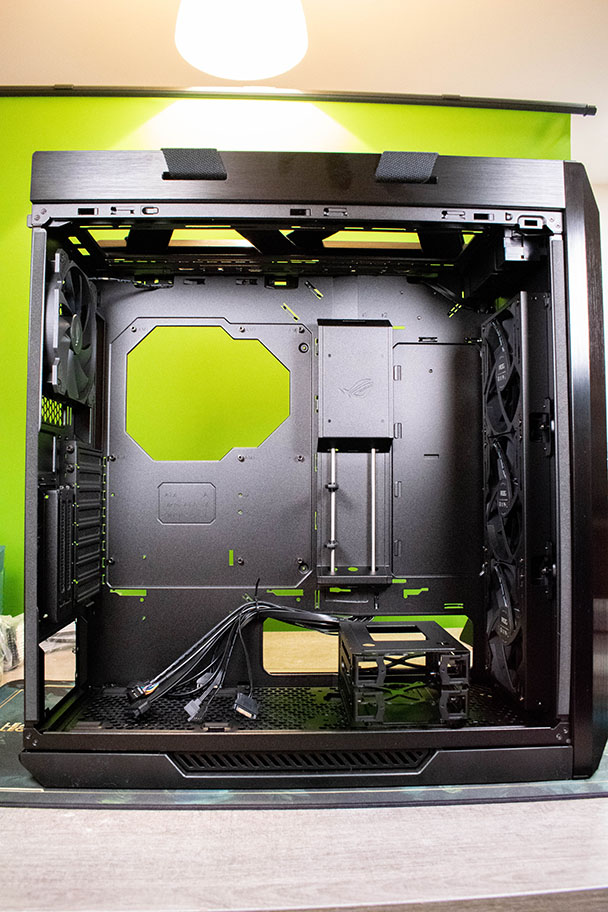
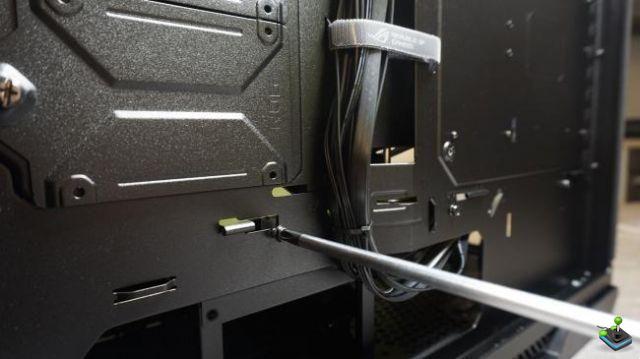
Finally, in order to make it easier to pass the cables and install the power supply, you must dismantle the rear black plastic door which will hide all the wires, but also the rear part of the tower, PSU support.
For more information about the ASUS ROG Strix Helios RGB PC gaming ATX/EATX case, we invite you to read our test article: Strix Helios rgb test.
Preparing the motherboard
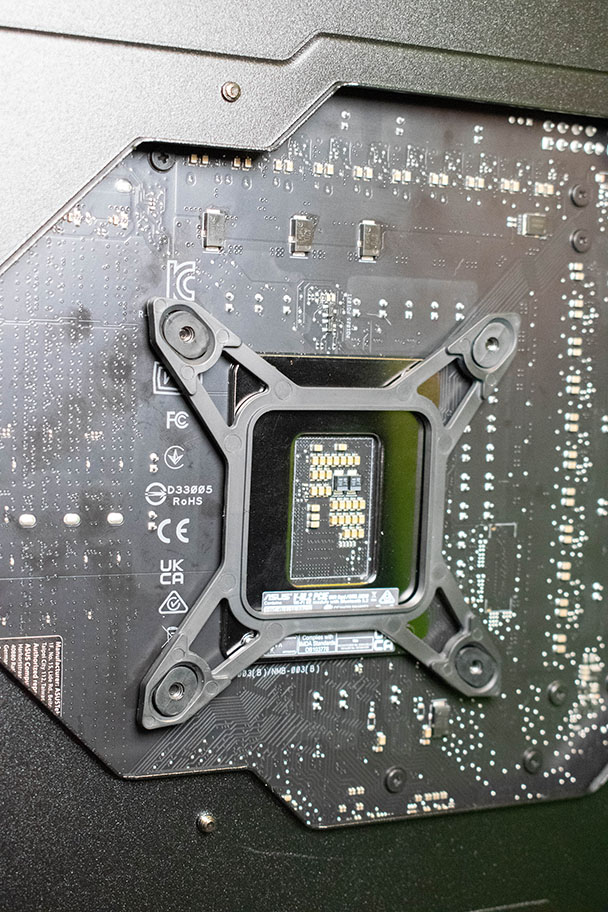
Main, even essential element of your configuration, it is recommended to doing the preliminary assemblies of the motherboard outside the case. It must not be powered during handling and you must pay attention to the small pins located at the back. Preferably, work on it by laying it on plastic or cardboard.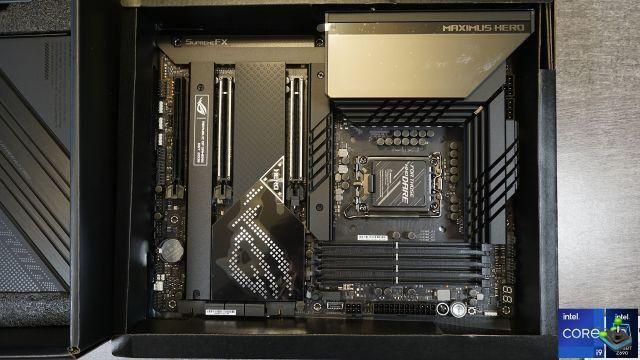
For more information about the ROG MAXIMUS Z690 HERO motherboard (LGA1700), we invite you to read our article: How to choose your motherboard?
Installing the processor
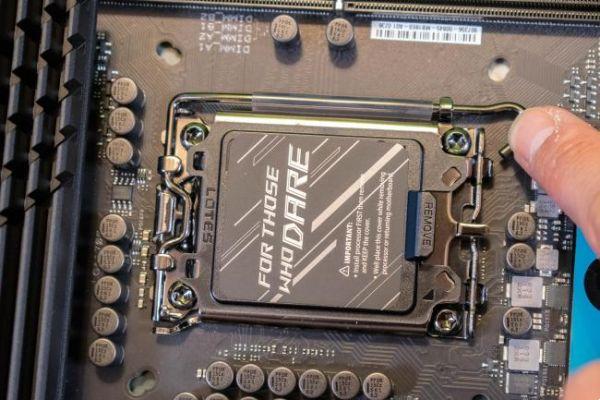
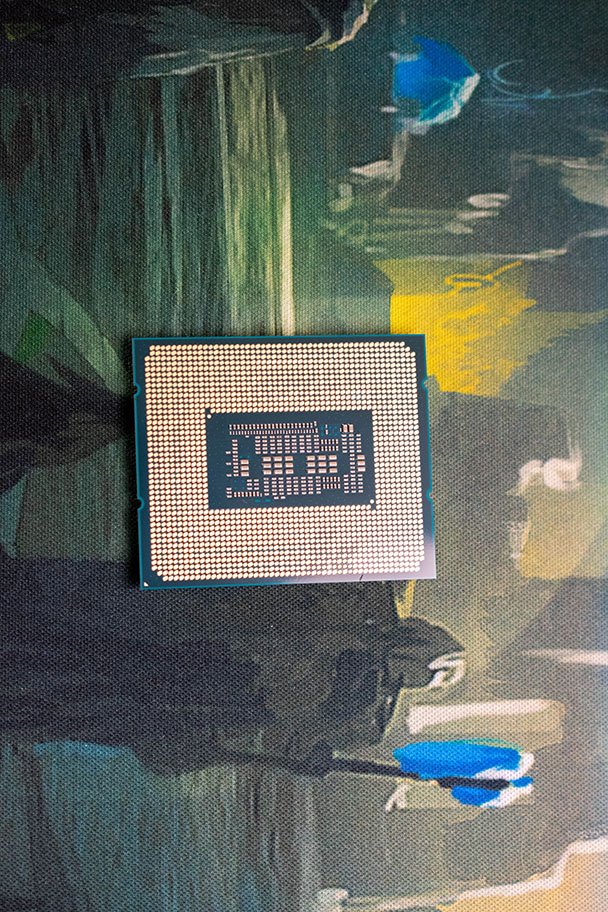
Heart of your configuration, the processor is the element that requires the most attention at installation. Indeed, improper handling or contact between the processor and the motherboard could alter the product. It takes different forms depending on the version chosen. Where applicable, LGA 1700s are rectangular in shape which will help us a lot with regard to its positioning.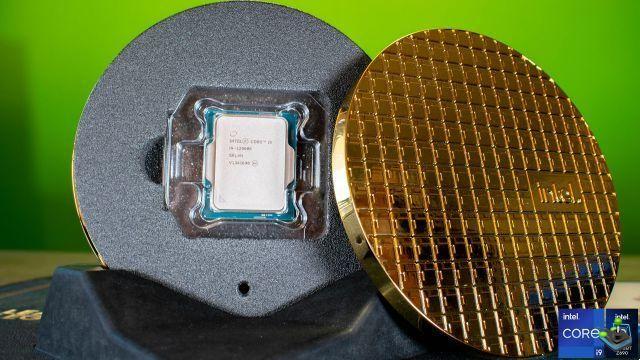
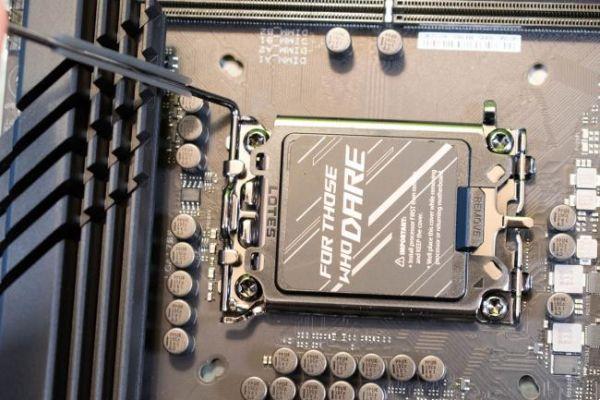
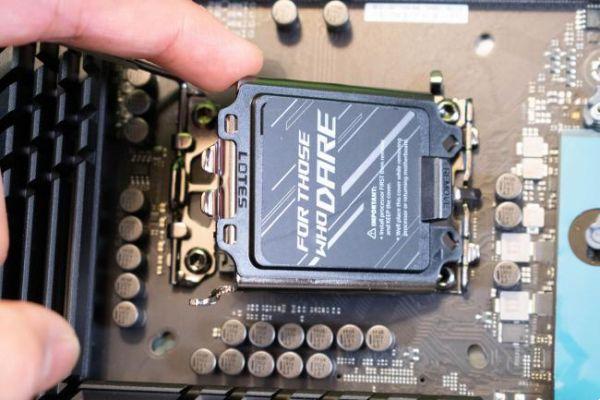
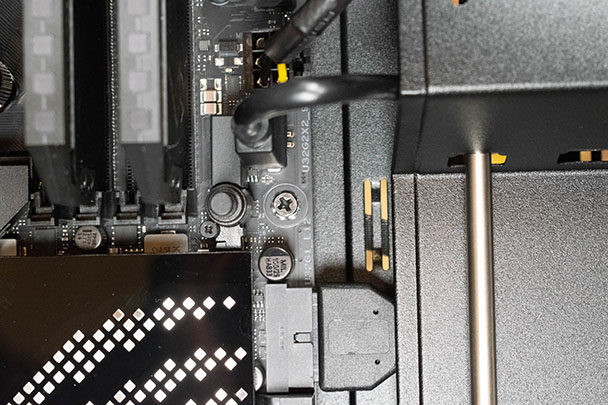
First of all, we must identify the place of the processor on our CM (motherboard). As a general rule, it is located on the upper part between the location of the RAM modules and the entrance to the rear ports of the card. For the Z690, a protective cache with the writing "for those who dare" is positioned on it. To open it, press on the metal rod located on the side. The cover ends up lifting and you can remove the cover.
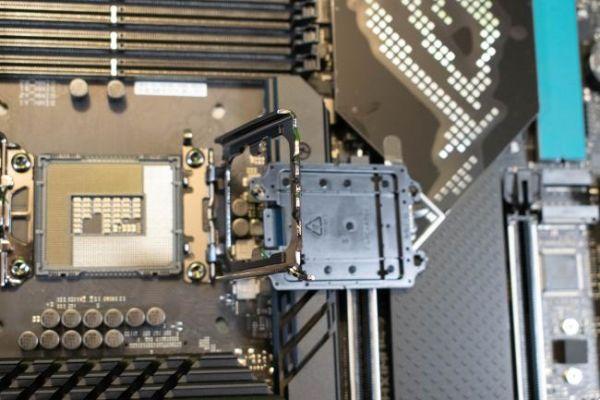
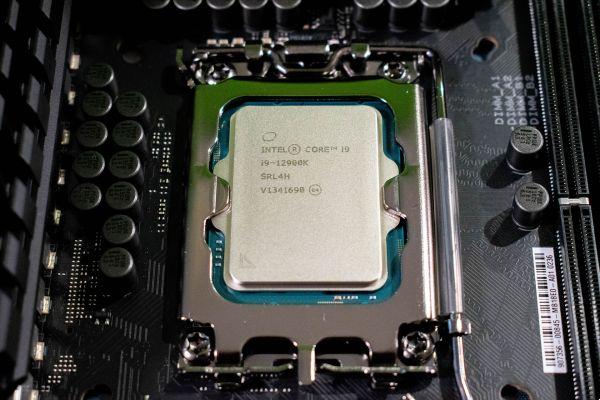
For the rest, hard to go wrong with the i9-12900K. However, it will have to be handled with care so as not to damage the connectors of the latter, but especially those of the motherboard, otherwise it would become unusable. In order to position it as well as possible, the processor has keying with an arrow on one of the angles as well as openings on the upper and lower sides in order to accommodate the plastic nipples of the designated area of the CM. Finally, reassemble the support to block the CPU (Processor) and finalize by blocking the metal rod again.
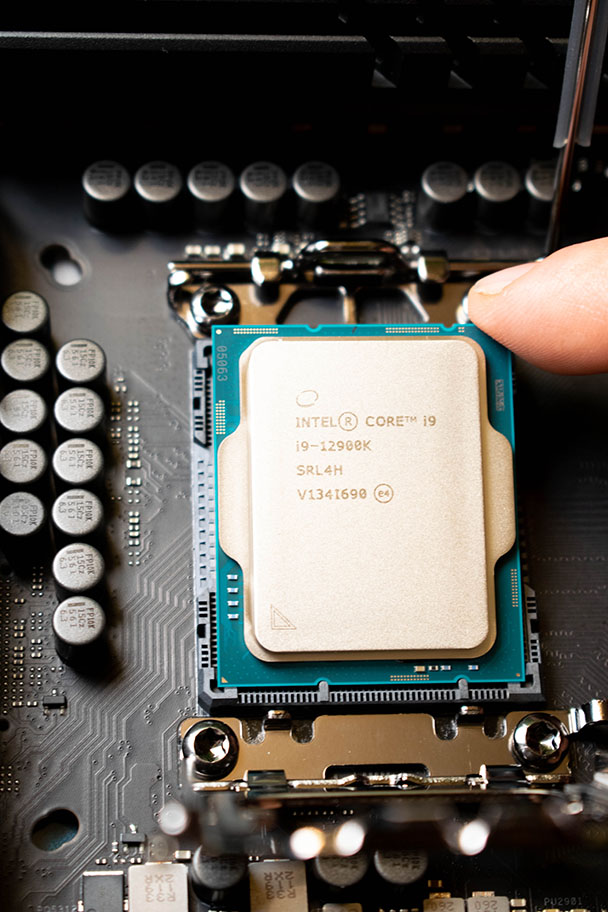
For more information about the 12th Gen Intel Core i9-12900K and how to choose its processor, we invite you to read our article: How to choose your processor?
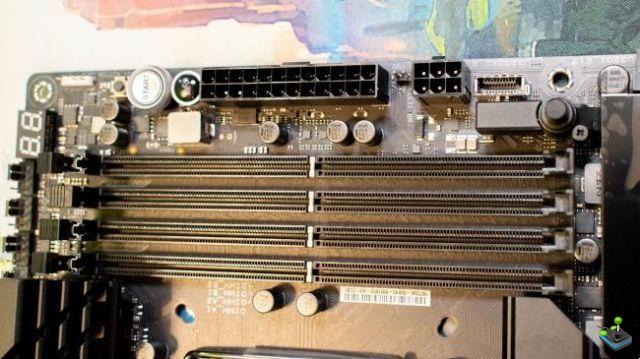
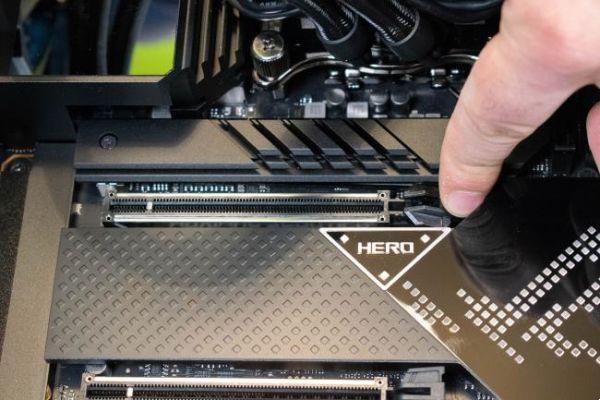
Installing RAM sticks
Let's leave aside the CPU part to look at the long vertical connectors located just to the right of the card. These are the reception ports for your RAM modules which will be called DRAM. For this configuration, we have two CORSAIR DRAMs. You should know that DRAMs are very generally available in pairs. Depending on the CM, two to eight ports are available.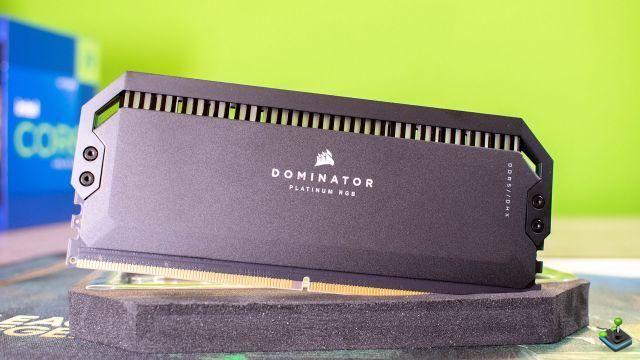
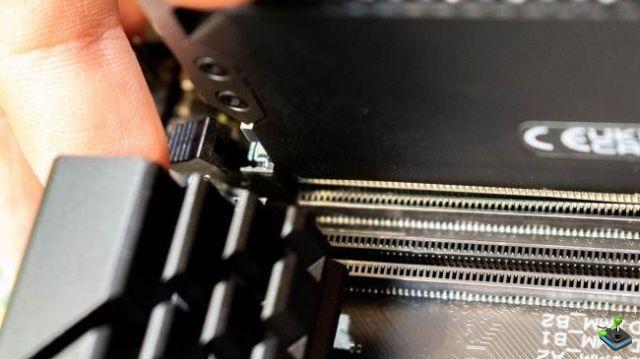
First of all, you must open the black plastic clips located on the edge of the connectors. To do this, a simple press on them is enough. For the installation of the DRAMs, following the booklet of the CM, we install it on the second and fourth slots so that they are synchronous. To know the meaning, a simple glance at the lower comb of the DRAM to find the slot that associates with the latch of the connector. Finally, insert the right bar in its notch and press gently until you hear a small click and/or see that the black latches, which we were talking about at the beginning, have returned to their place and are clipped to the bar.

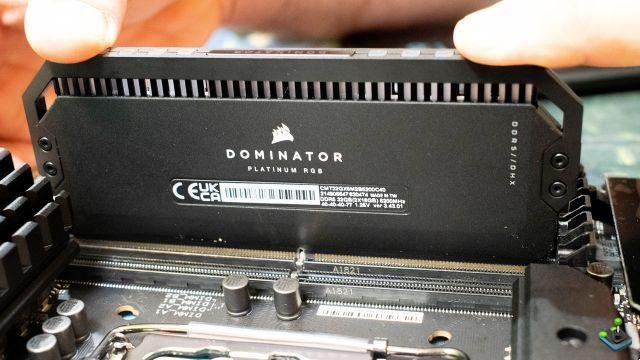
For more information about the DOMINATOR PLATINUM RGB First Edition 32 GB (2 x 16 GB) DDR5 DRAM 5 MHz C200 DRAM and how to choose your DRAMs at CORSAIR, we invite you to read our article: How to choose your DRAMs?
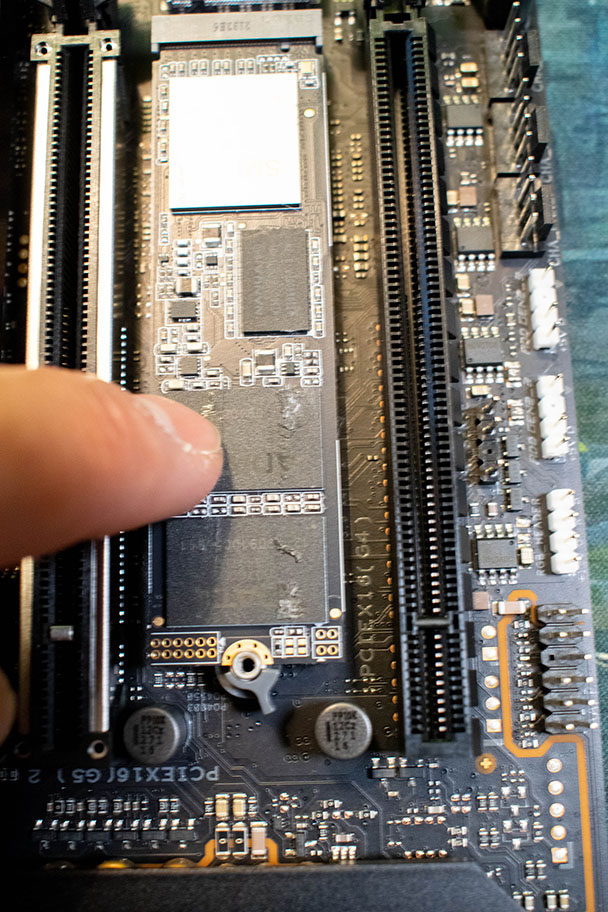
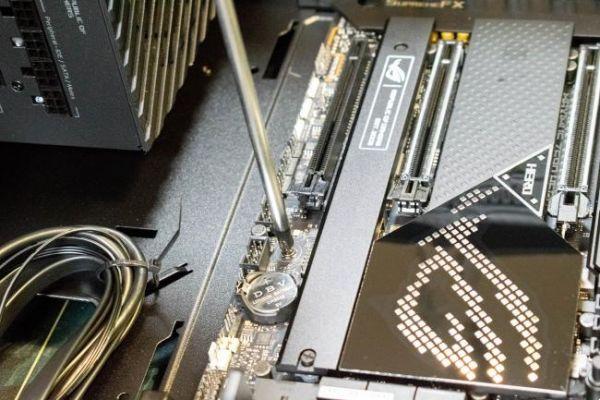
Mise en place des SSD NVMe M.2
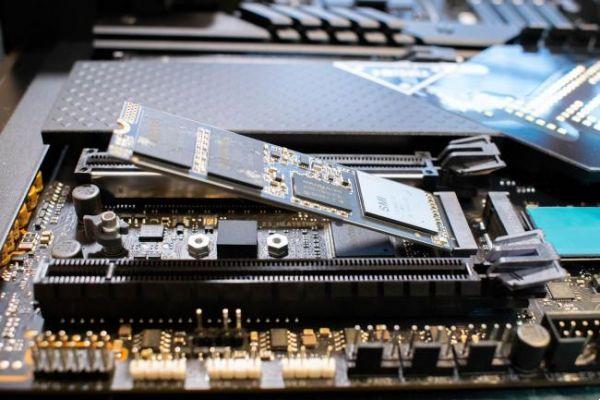
There are many types of hard drives that serve as your computer's internal memory. To simplify, here, NVMe M.2 SSDs are the ones with the highest read and write speeds. They are easily identified by their very flat and more or less long shape with a comb-shaped connection on one of the short sides. For our configuration, this is the Samsung SSD 980 1 To (SSD).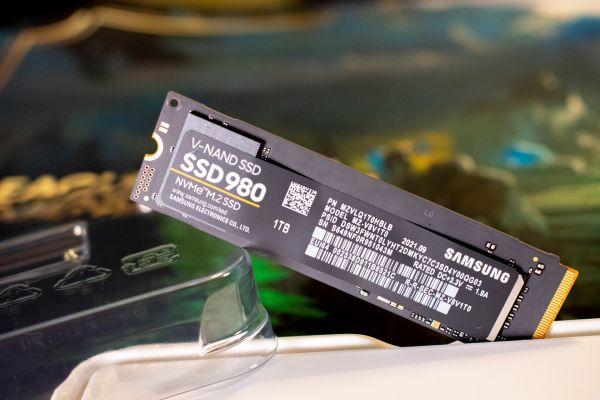
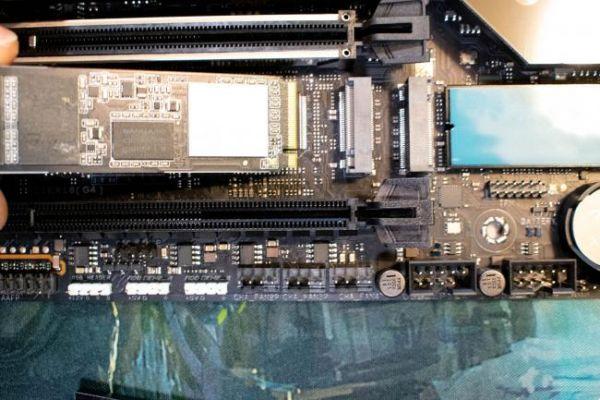
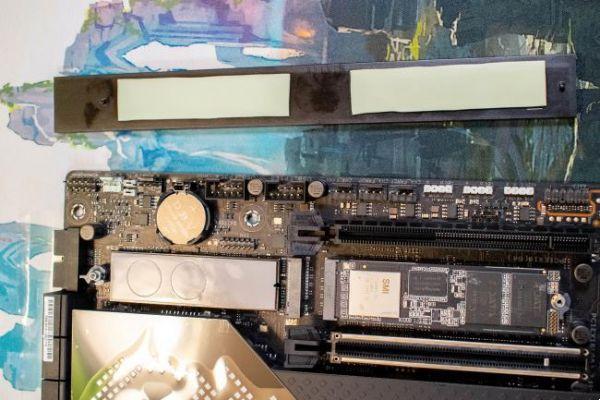
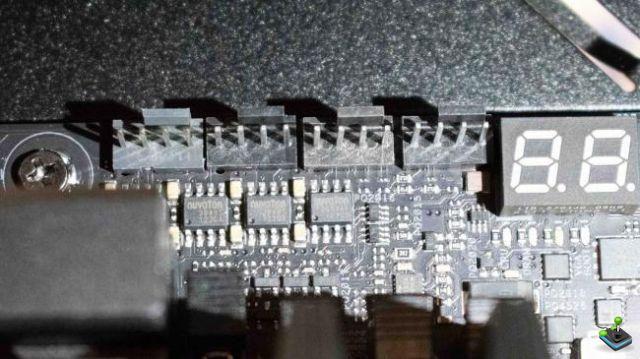
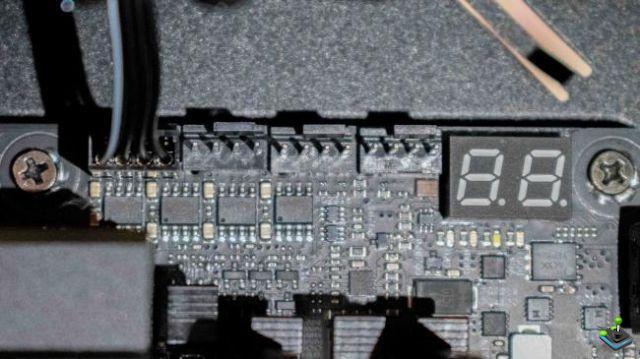
La ROG MAXIMUS Z690 HERO (LGA1700) has three spaces capable of accommodating NVMe M.2 SSDs and are located under covers to be unscrewed. To understand the slots more easily, do not hesitate to refer to the instructions for your motherboard. We notice that once these covers are removed, the areas supposed to accommodate the NVMe M.2 SSDs have native thermal paste, hidden by plastic film.
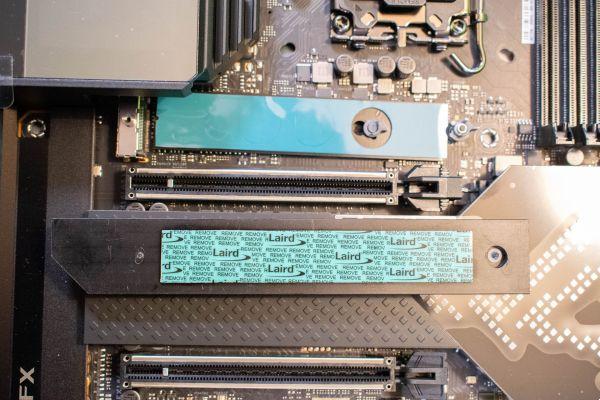
No specific port to choose. Drag the NVMe M.2 SSD in the slot provided for this purpose. The latter will not automatically be positioned ready for operation, but at an angle to facilitate insertion into the port. Finally, remember to remove the thermal paste plastics before pressing the NVMe M.2 SSD to end up screwing it on the motherboard. Reassemble the cache and it's over, your SSDs are ready to be used.
For more information about the Samsung SSD 980 1 TB (SSD) and how to choose its internal memory, we invite you to read our article: How to choose your internal hard drive?.
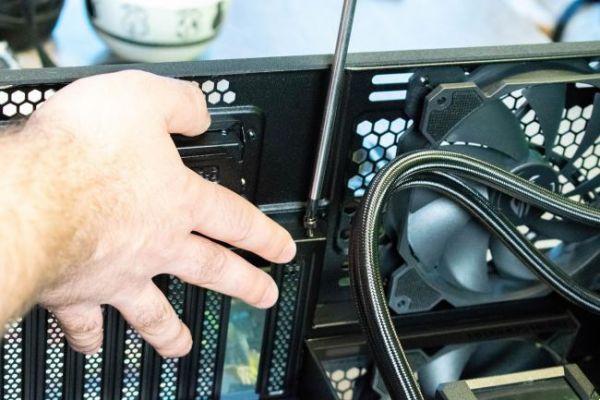
Food
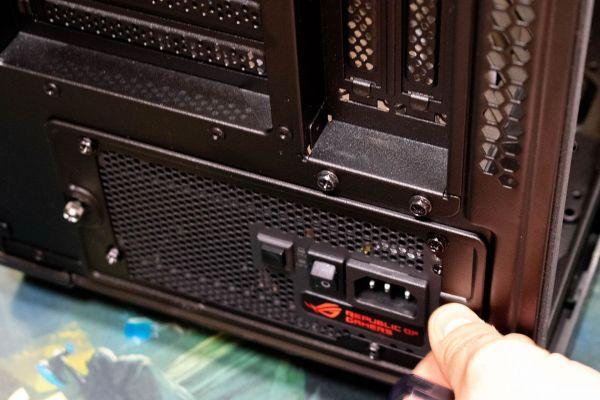
The new power supplies are much more practical since the cables are to be connected as you go. In fact, the box is much lighter to install while avoiding us to keep unnecessary cables for configuration. It is inserted in the lower left part of our lathe, where, initially, we removed the metal cover. The latter connects directly to the power supply before sliding it into your PC from the back.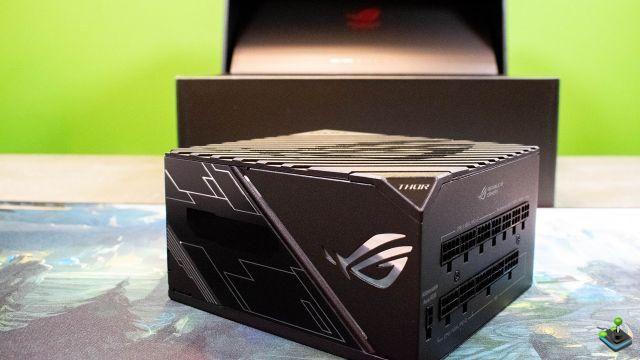
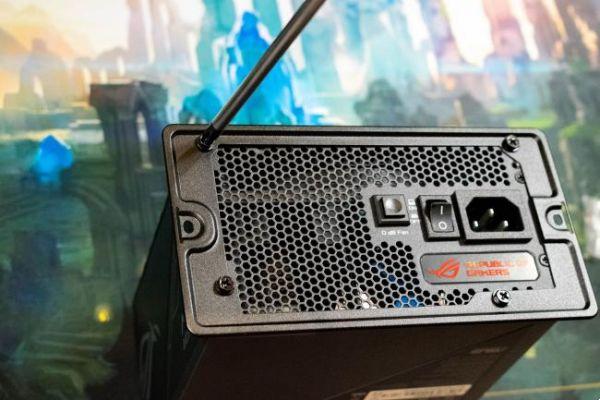
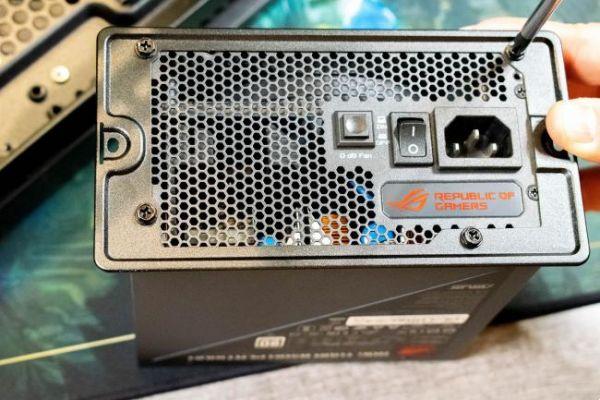
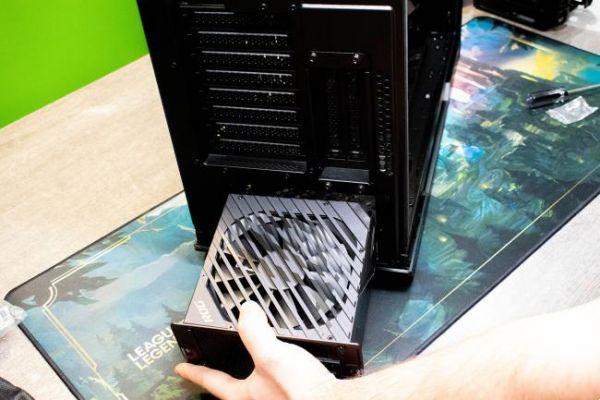
For now, you don't have to do anything more. The advantage of a cable-free power supply is to be able to continue assembling your configuration without being invaded by wires that you are not yet using. The wiring will be done at the end.
For more information about the ASUS ROG Strix 850W Platinum 80+ and how to choose its power supply, we invite you to read our article: How to choose its power supply? .
Motherboard
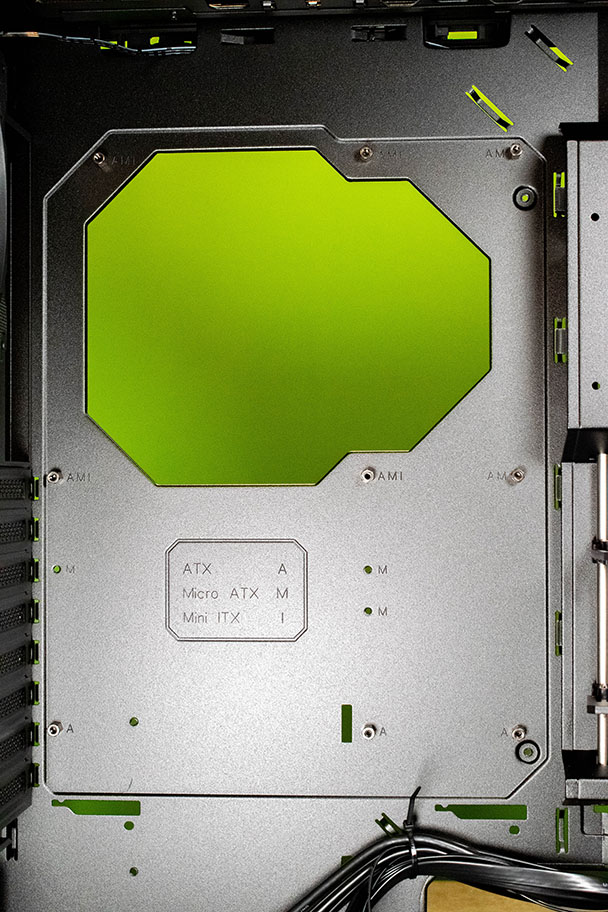
Now is the time to install the motherboard inside the case. To do this, you must make sure you have the necessary space and that the positioning pins are well placed. This is an ATX card (standard size) and all the necessary information is engraved directly inside the case. Note that the tower must be laid down during installation to facilitate installation.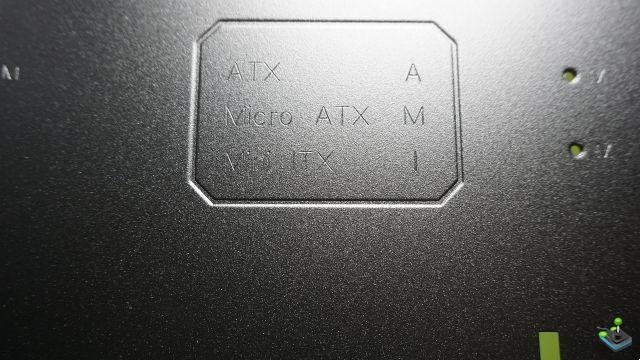
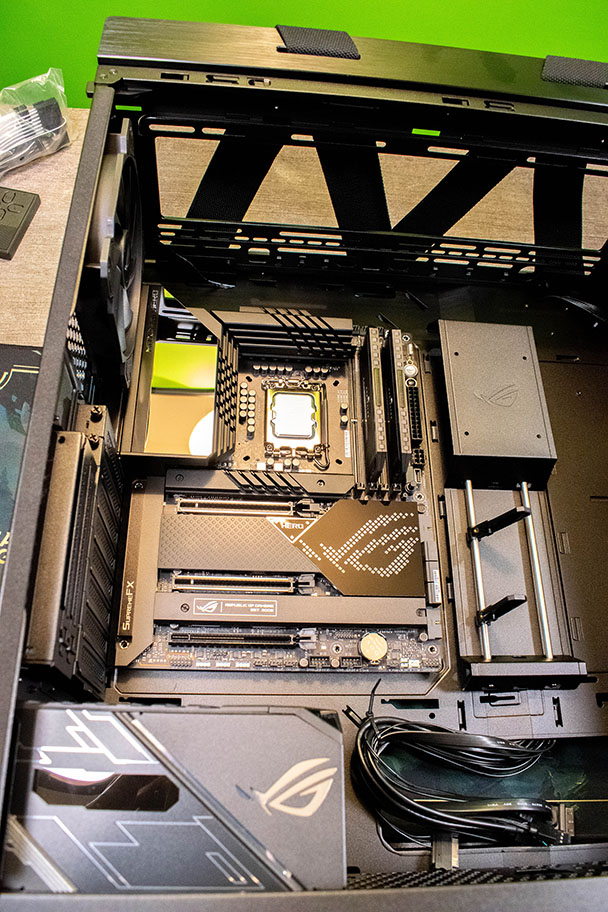
Install the CM carefully, paying attention to the rear connectors which are positioned in the rectangular zone of the box provided for this purpose in order to have access from the outside. Once the CM is well placed, screw it to the case.
AIO Watercooling for CPU
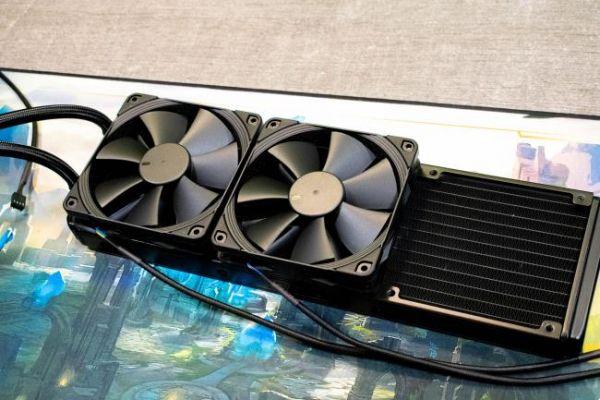
One of the most technical elements to install, both in terms of the set of components to be integrated and the installation format. What's more, the user manual is not the most explicit. Interesting point to know before starting, Watercooling AIOs are intended to be multi-compatible. In fact, they have in their packaging different mounting kits depending on the processor format to be covered.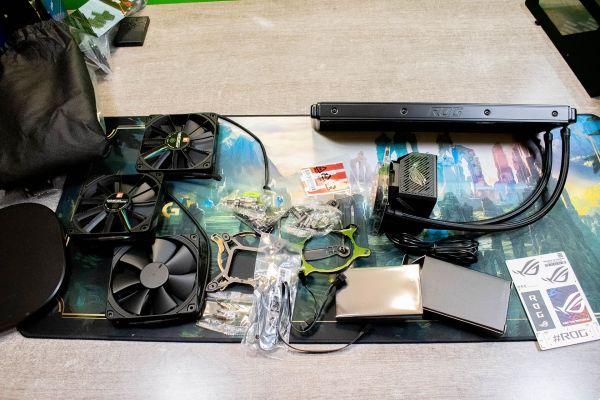
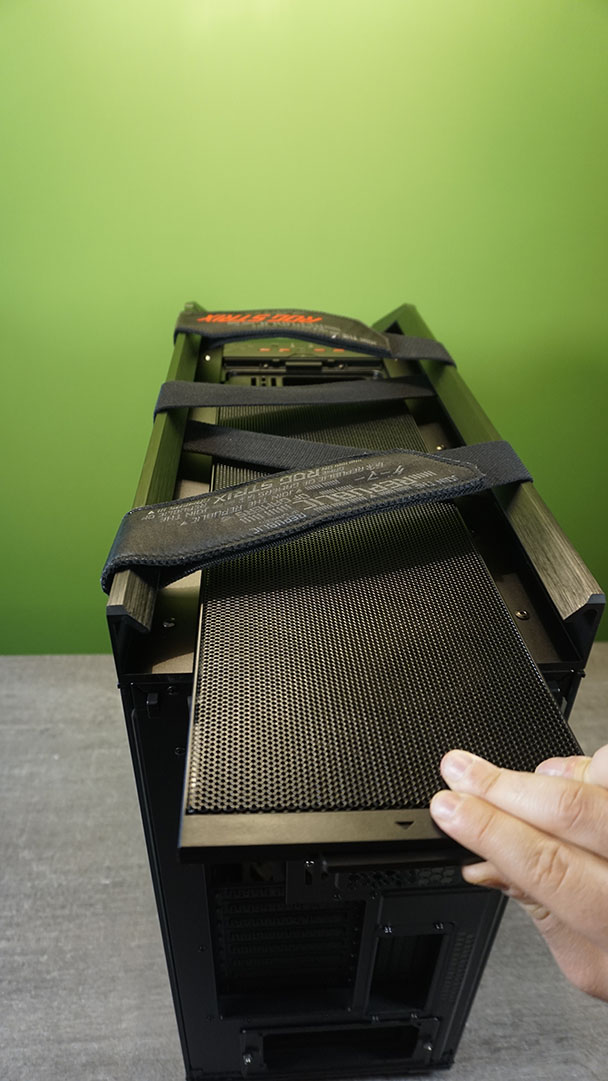
Before starting assembly, make sure you have removed the dust guard located on the top of your lathe. For information, it is possible to mount the AIO kit on top of the case or as a replacement for the front fans. Here we decided to install it on the upper part.
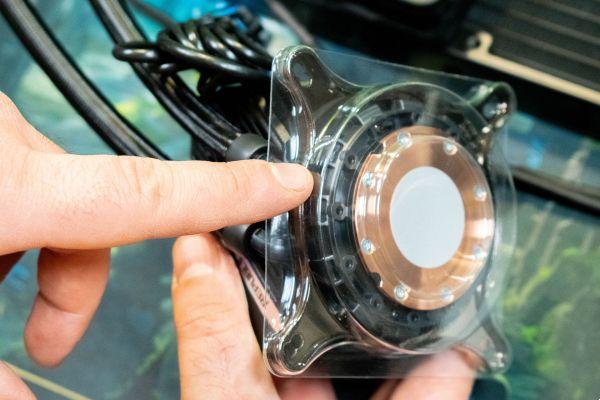
EXTREMELY important point. When handling, do not remove the pump cover giving access to the thermal paste. This will be done later, keeping it protected throughout the installation process. We also note that the steel mounting system is not the right one for our installation, but we will come back to this later.
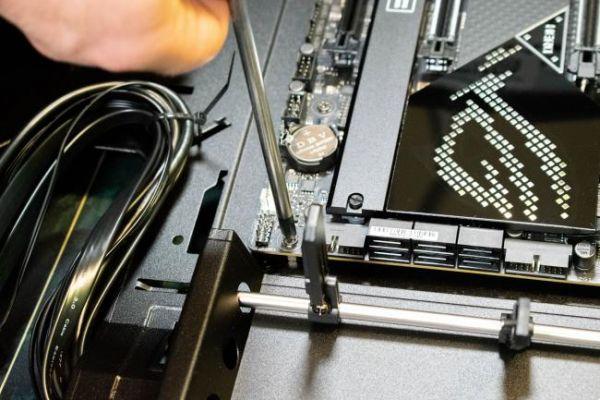
To start, you have to mount all the fans on the radiator (the long black steel board) respecting the direction of ventilation. You will find arrows on the fans so as not to be mistaken and before fixing the whole thing on the upper part of the case.

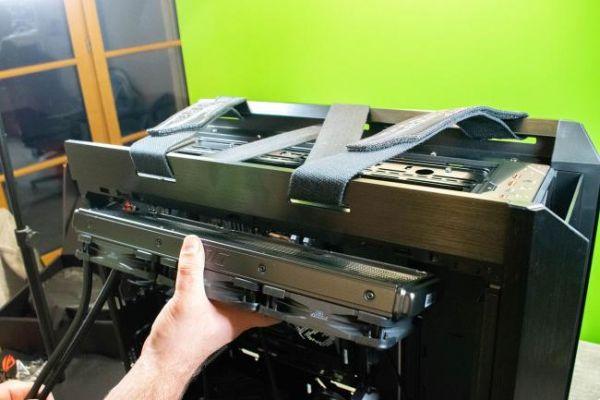

You can already put the filter back on top, since no other manipulation is to be carried out on this zone. Now it is necessary to consider the positioning of the pump. We recommend carrying out this manipulation with two people since it will take someone on each side of the box. For this configuration you need the notified bag LGA 1700 in which are located screws and components necessary for assembly. From the back of the case, it will be necessary to hold the bracket so that, from the inside, the fixing screws can be tightened on it. Once again, we invite you to look at the instructions in order not to be mistaken. During the final tightening, we notify that a functional space is required. Do not try to force the screws in order to completely tighten the bracket to the case and the CPU board. This play, which makes the assembly wobbly, will disappear as soon as the pump is installed.
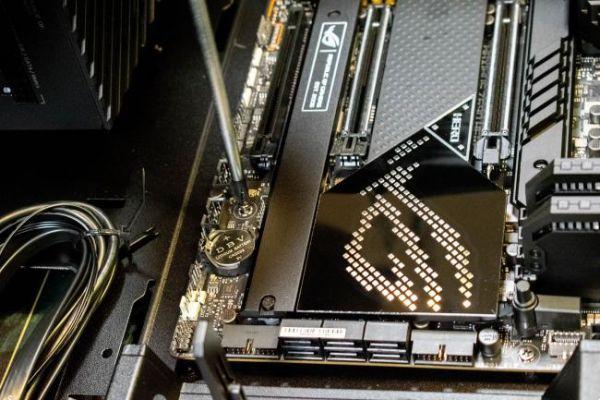
Once this has been done, it's the turn of the hydraulic pump to be installed. To do this, you will finally be able to remove the protective plastic. WARNINGS : do not put your hands on the thermal paste which is essential for the proper functioning of the processor. It is also necessary to remove the pump cover, which is easily removed by pulling on it since it is magnetized (do not force), revealing a new fan, but also the tightening areas. It is now necessary to change the metal fixing part with the one adapted to the LGA 1700. To do this, rotate the metal part to be able to remove it. The new plate is positioned by doing the reverse manipulation. Once this step has been completed, approach the CPU pump carefully, being as centered as possible so as not to put the thermal leg everywhere.

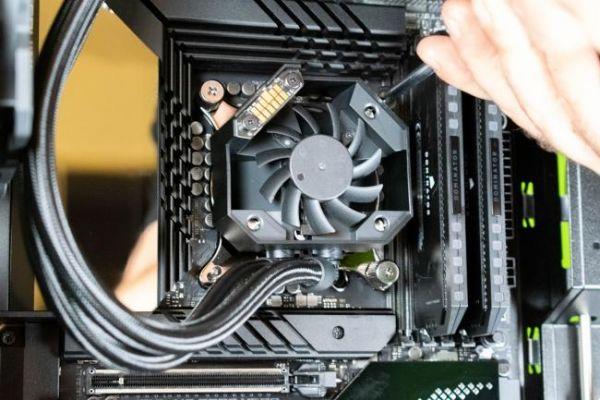
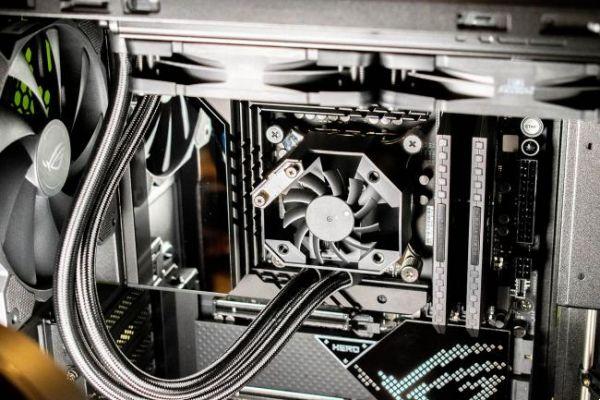
Finally, tighten the four screws on the previously installed inserts. Once blocked, your set should be fixed and have no beat. You can now put the screen back on the pump and you're done for assembly. Only the electrical part remains to be managed. For this, a box is provided with the AIO box that you will have to hang on the back of your machine.
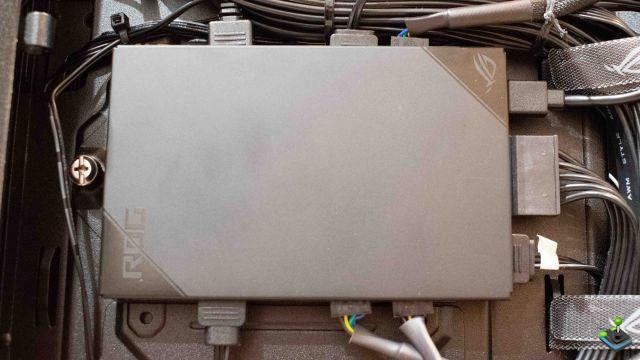
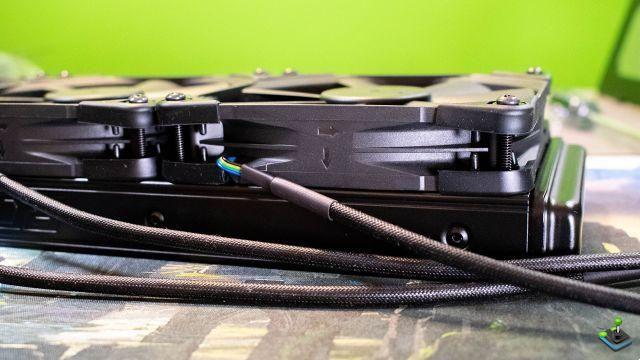
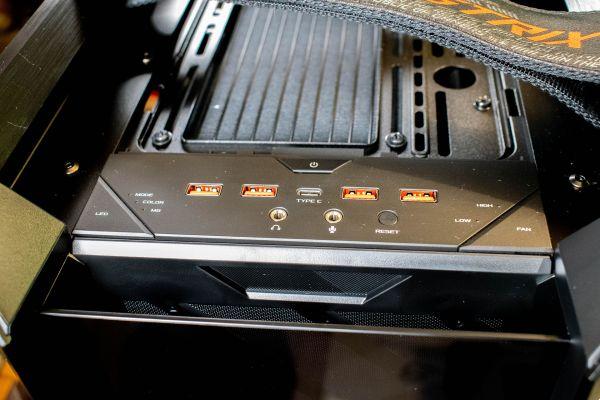
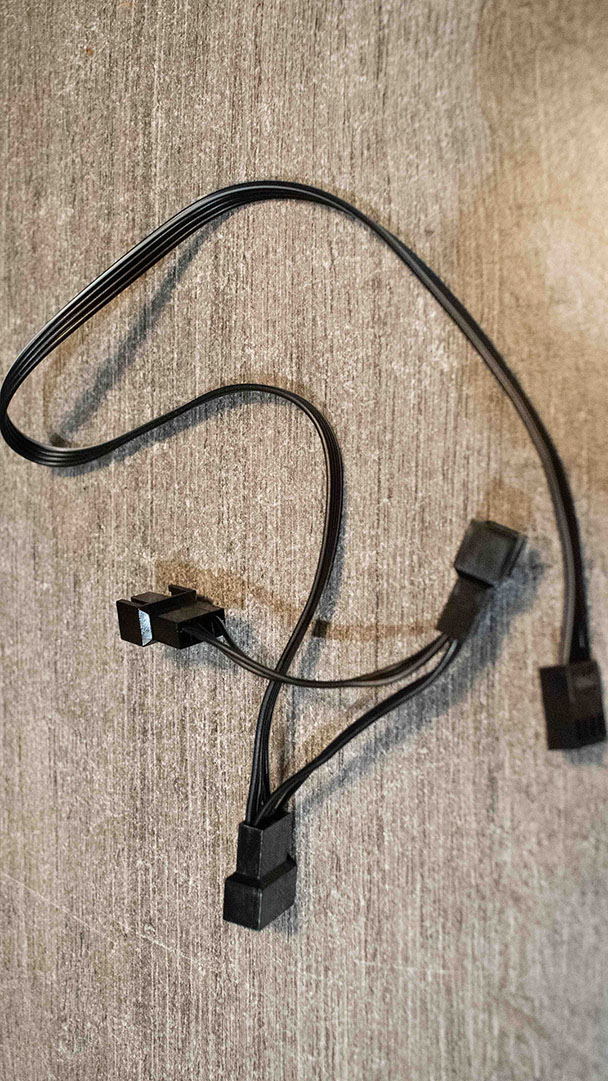
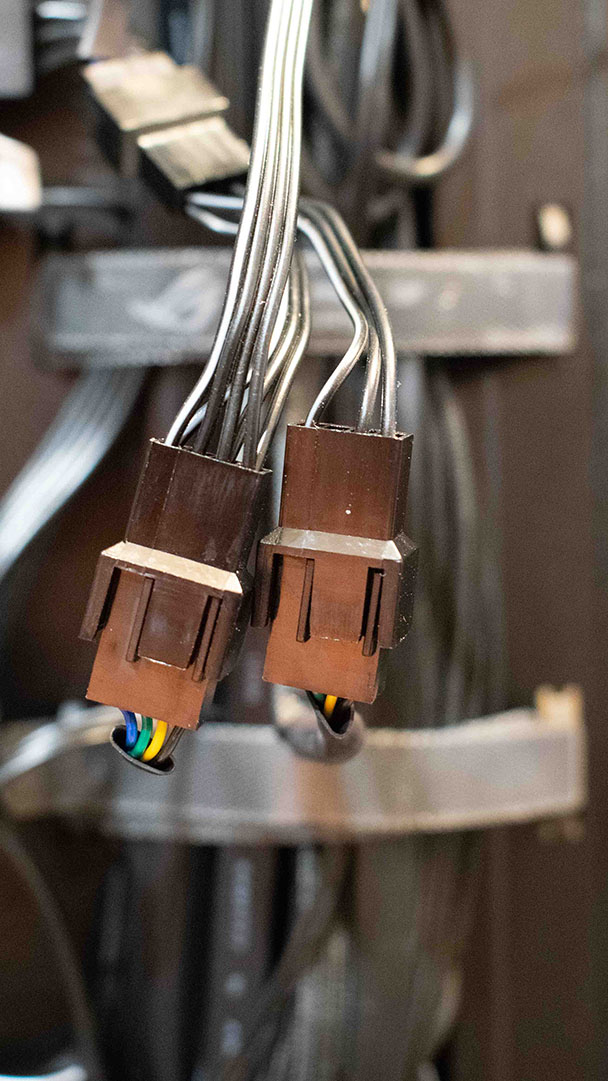
Route the wires through the spaces provided in the case to reach the back of your lathe. All that remains is to connect all the fans to the box which will be used to manage them both for their operating speed and for the RGB aspect.
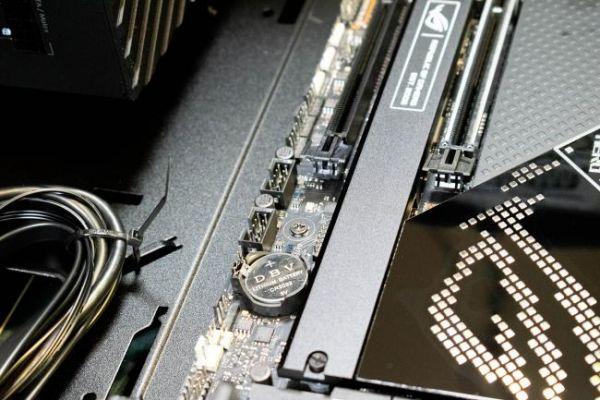
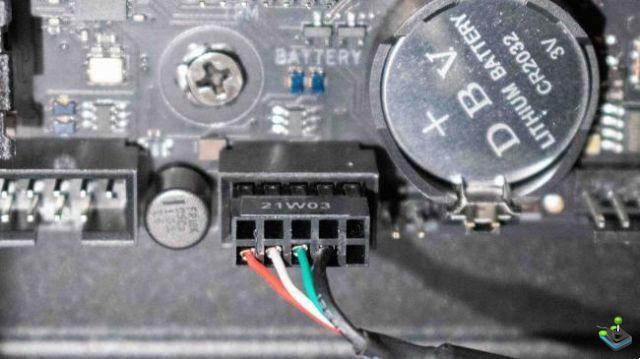
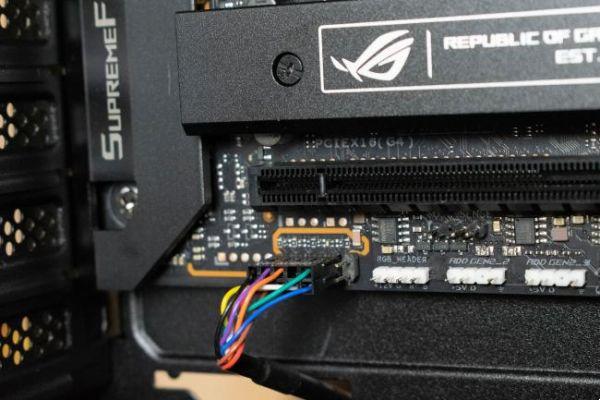
However, that's not all. It misses the most important, without which your computer could have trouble identifying your AIO kit: the connection to the CPU FAN located at the front of your CM. The cables required for these connections are provided in the manufacturer's box. Link the cables that come together before positioning the USB connector, rectangular with four colored wires, on the front part of the tower towards the CM battery. For the rest, it is on the upper part of the motherboard that you have to look by plugging into the CPU FAN port, which serves as management for all the ventilation and cooling of the processor.
For more information about the ROG Ryujin II 360 and how to choose its AIO watercooling, we invite you to read our article: How to choose your cpu watercooling kit?
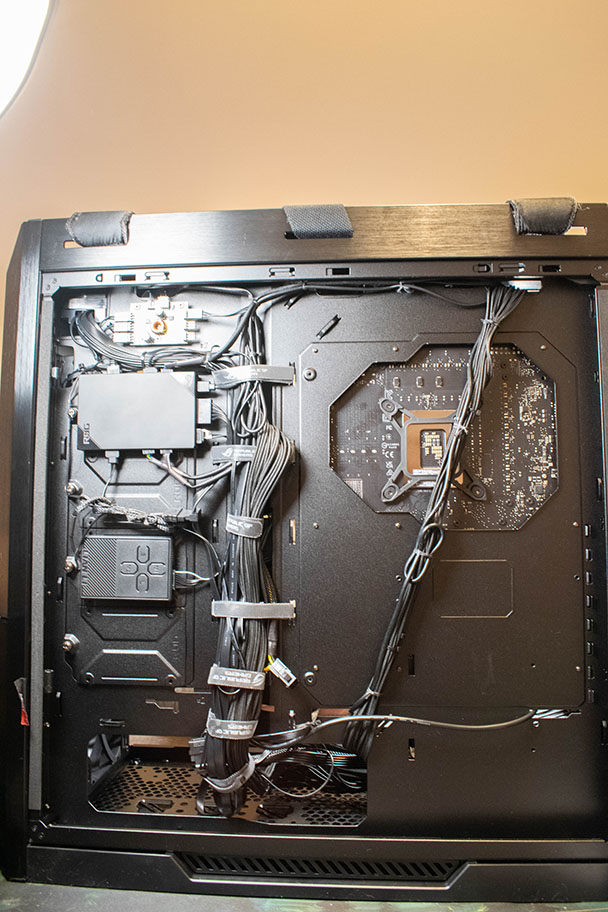
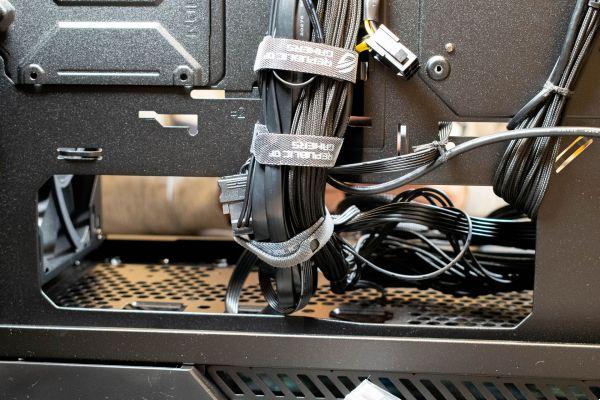
Complete wiring
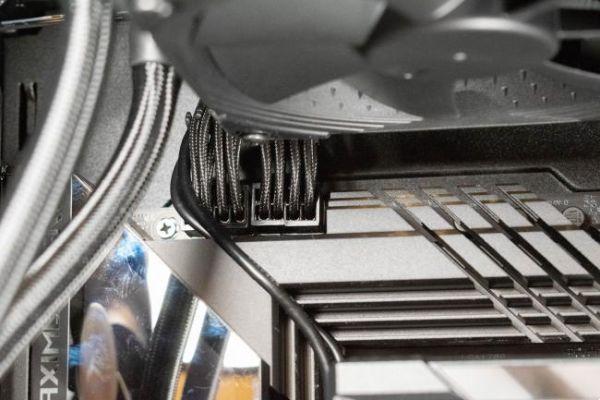
Your configuration is starting to look good, even if there are still a few small elements. Wiring is one of them and requires quite a lot of patience. First of all, and even if you have already heard of "cable management" do not worry about their location, except to try to navigate them to the back of your case. It is therefore time to take the cables out of the power supply to come and connect them. Here, no particular problem since all the components have their own connectors, and therefore the power supply makes a reminder on its main connection face.
The most important cables are:
- The processor with two ports located on the upper left area of the CPU.
- The CM power supply, on the right side of it, the port is long and vertical.
- The USB and USB-C/3.2 ports you can't go wrong with, as notified on the CM or just one slot available.

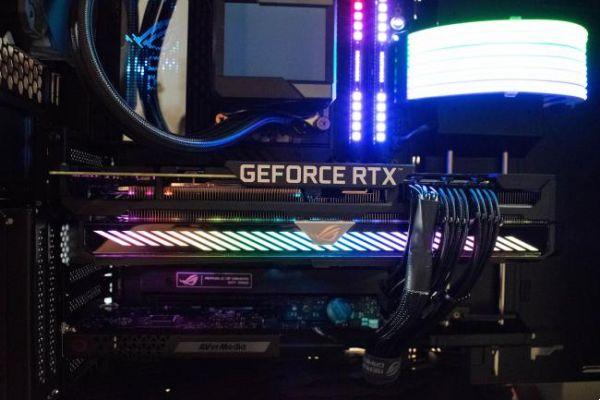
Carte Graphique
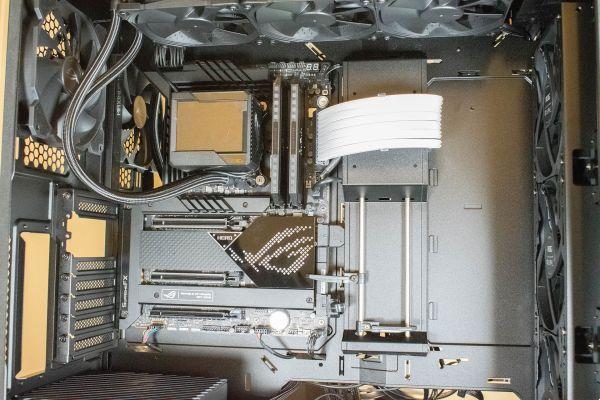
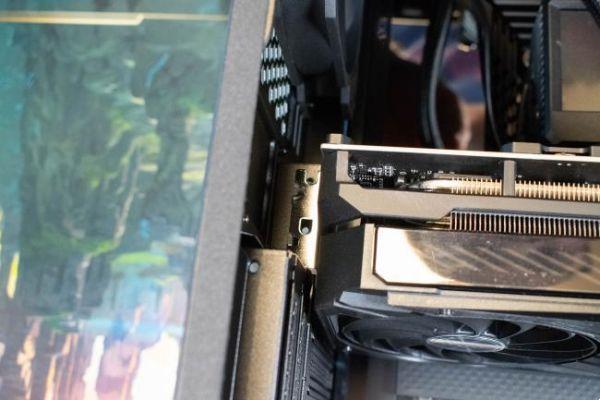
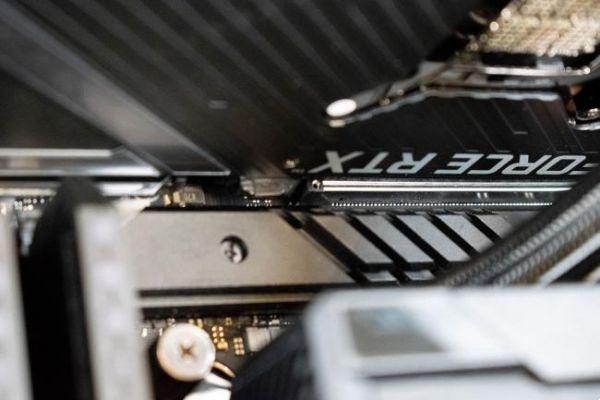
Last element to mount, because quite imposing, the RTX 3080 requires a "Grand Tour" format case to be installed. Luckily for us, the ASUS ROG Strix Helios RGB ATX/EATX gaming PC case has everything we need to work in the best conditions, as well as an adjustable graphics card holder.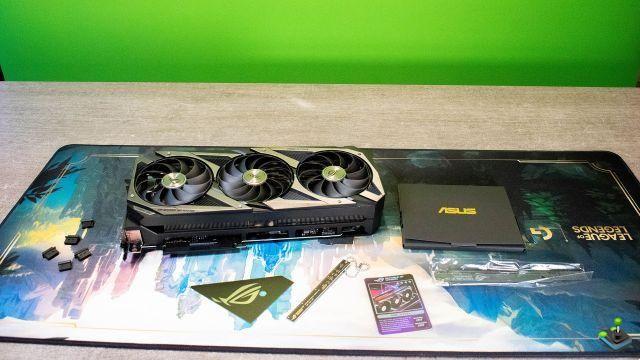
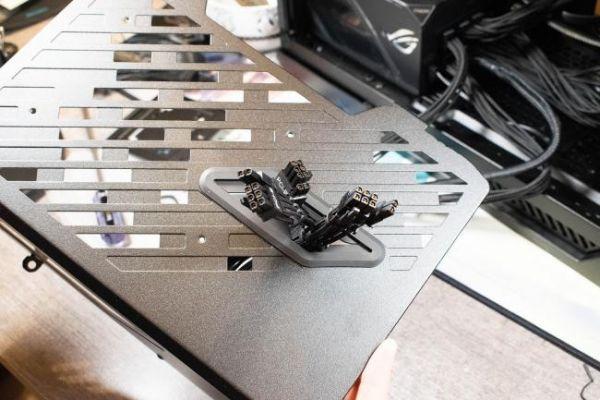
The latter is very useful, because even whether the motherboard has reinforced PCIe ports in order to best support the CG, the weight is felt along the length of the map which you can see here. It is necessary, as for the DRAMs, to rotate the plastic cover on the edge of the PCIe port. You will also notice that two slots are available on the CM, the choice is yours.

Then, position the blank card to find out which rear covers to remove, which are two in number and held by screws. Note that in the photos to follow we can still make out the rear cover even though we initially asked to remove it. We realized this a bit late and removing it early will save you time.

Now that the place is made, all that remains is to position the RTX 3080, remembering that you will have very little visibility. Once facing her slot, press gently taking into account all aspects of her positioning to make sure she does not stumble anywhere. There will not necessarily be any noise to signal that it is well installed, so it is up to you to establish whether you think it has arrived at the bottom of its port. You can still see if the latch has lifted up to stick to the CG.
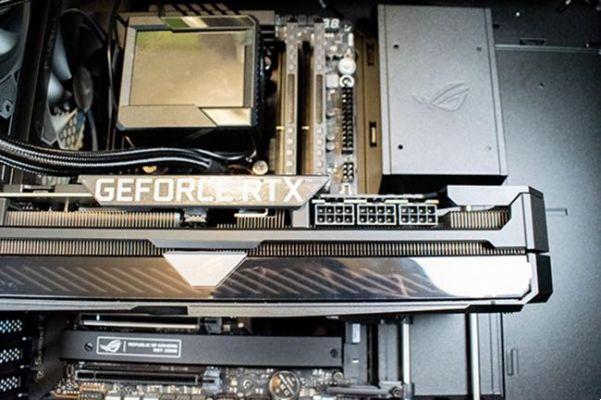
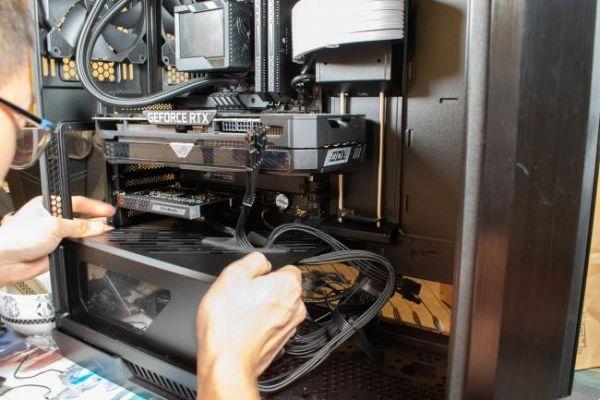
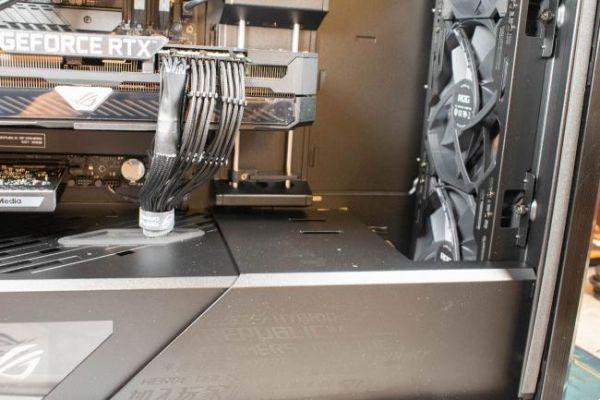
Secure the CG by replacing the screws on the back of the case, but also the cache that we removed at the very beginning. Finally, it's time to reassemble the battery cover while passing the three PSU cables needed to connect the 3080 and plug it in.

For more information about the ASUS ROG GeForce RTX 3080 and how to choose its graphics card, we invite you to read our article: (coming soon).
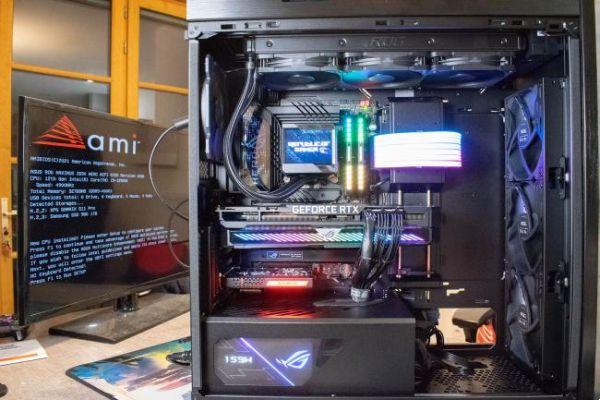
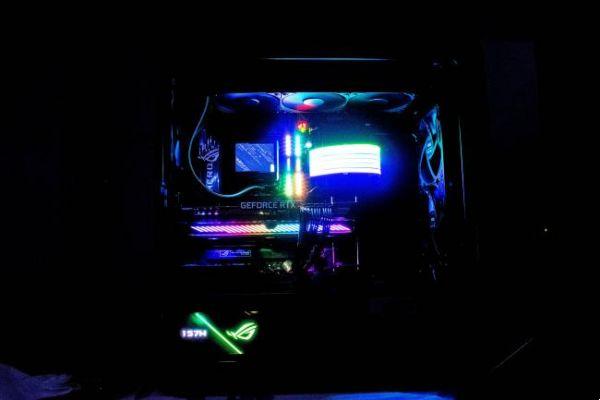
Complete reassembly
The grand finale, your computer is finally ready, all you have to do is put everything back together. Do "cable management" or ask someone to help you so that your configuration gains in charisma. Reassemble the windows, all the elements that you had dismantled to begin with and of which no component has taken the place.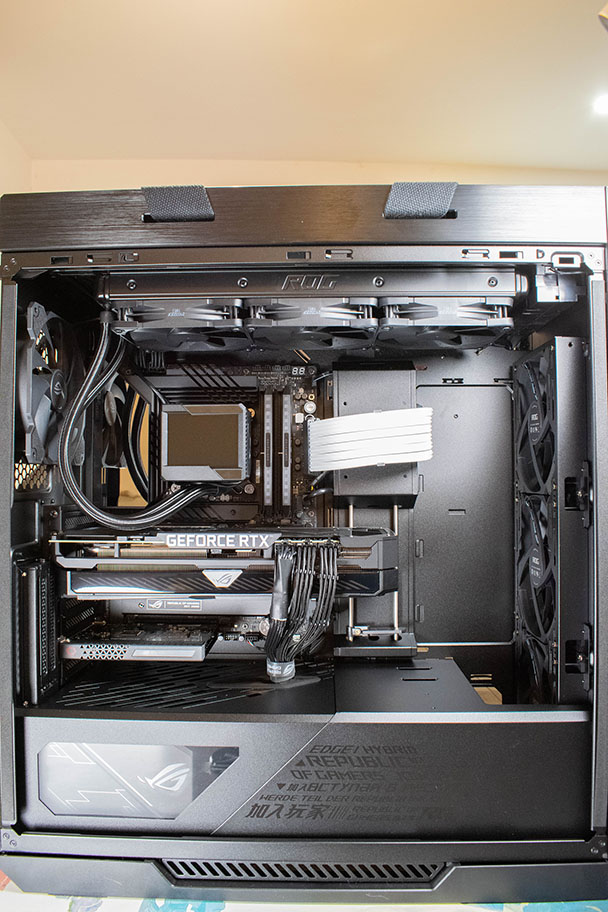
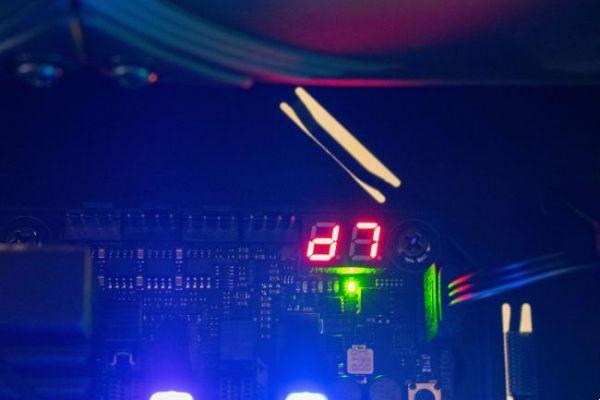
Finally, plug in the power and prepare for launch. Note however that you will still need to install Windows (or another operating system), depending on the version that suits you, knowing that this configuration also allows the transition to Windows 11. Finally, a small passage in the bios ( by pressing F2 at startup if it does not do it on its own) to go to the hardware part, CPU cooling and activate the AIO option. Once everything is in place, use the key provided in the ASUS CM to install all the software necessary for the proper functioning of your configuration, as well as updates from Windows Update.

 StarfieldDisney Dreamlight ValleyPet Master